Most whisky clubs gather to enjoy tasting multiple bottles at the same time, and often a flight is the best way to do that. A well-considered tasting flight has a beginning, middle, and end. The right whisky selections and the ideal order will ensure everyone arrives happily at their final destination of whisky bliss. Pilot your club tasting event in a way that allows members to assess each whisky to its fullest. Good selection and sequencing is a skill developed over time, and with these tips you’re ready to embark on your tasting journey.
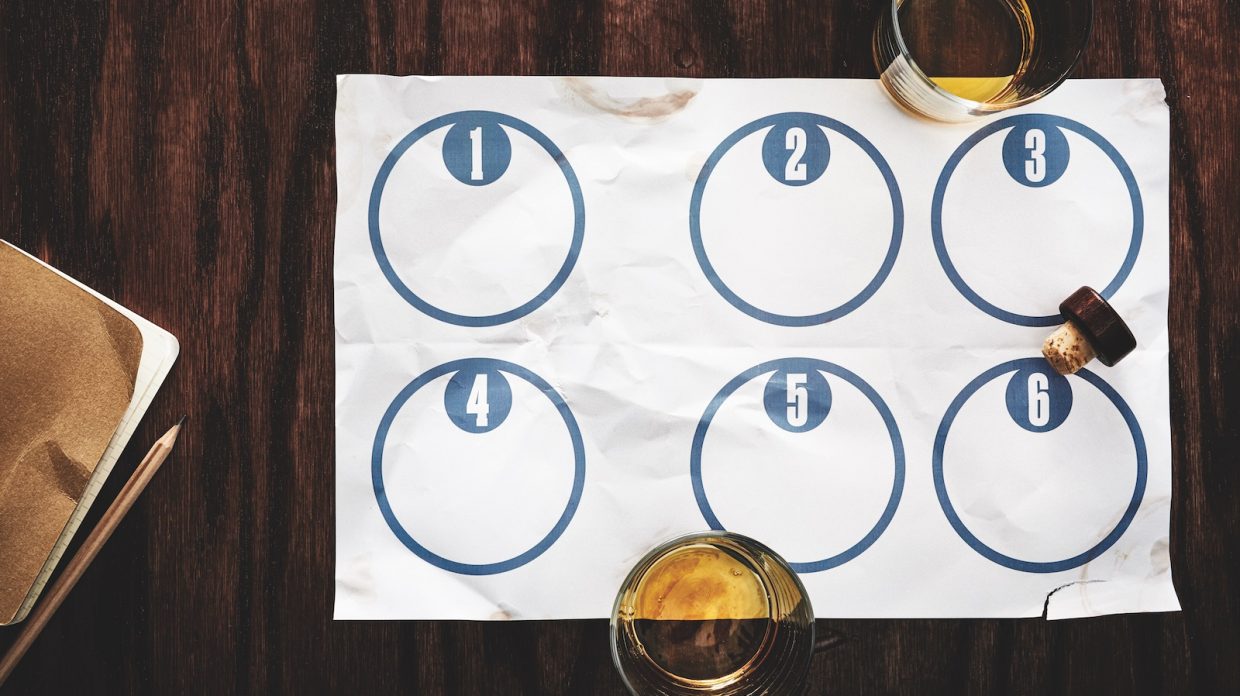
When determining the number of whiskies, consider both your group’s experience level and the time you have to taste. We suggest no more than six whiskies at a single sitting, even for experienced participants. You’ll want to plan for at least ten minutes per whisky, so attempting more than six can exhaust both palates and patience. You can also scale back to as few as two.
Thematic tastings—such as rye whiskeys or peated whiskies—are usually the most successful, because they provide more points of comparison. Another option is to use contrasting whiskies, like tasting single malts from around the world. Either way, you’ll want to carefully consider the order of your tasting.
Whisky 1: Stick With the Familiar
The first whisky stands as a reference for everything you’ll taste after it. This should be a familiar whisky. Consider the styles and proofs included in the flight and make this whisky representative of the median, avoiding anything too strong, too light, or too peculiar. If you choose to taste blind you can still reveal the details of this whisky to make it a known benchmark.
Whisky 2: Easy Does It
The second whisky in a flight is typically the lowest proof. It’s also a good idea to place something here that is similar to the benchmark whisky: something of the same age or style, or from the same producer. This will encourage side-by-side comparison of the whiskies. The more similar they are, the more the tasters will need to rely on their senses to analyze the characteristics.
Whisky 3: More of the Same
Moving into the middle of the tasting is where you can begin to experiment. However, you’ll still want to keep close to the theme. The first three whiskies should set the stage and cement the particular whisky style or theme for the tasters.
Whisky 4: Oddballs and Ringers
Having established a cohesive theme with the first three whiskies, the fourth and fifth slots are ideal to introduce something that is a bit of an outlier. That might mean a wheat whiskey in a bourbon tasting, or an American single malt among scotches. Such outliers are commonly referred to as “ringers.” They often defy expectations and offer points of contrast.
Whisky 5: Step It Up
You should generally sequence your whiskies so that the proof rises as the flight progresses. One or two percentage points don’t make a huge difference, and can be swapped without issue. In some instances, however, a dominant flavor, like heavy peat or rich sherry, will take priority over proof. Such whiskies should appear in slot five or six.
Whisky 6: The Big Finish
With only rare exceptions, the last whisky should be your highest proof. There’s also room for a “save the best for last” approach. If you place an especially potent, rich, or complex whisky too far forward in the lineup, it will often overshadow and diminish the others in the flight. A great whisky makes for a better main event than opening act.